
The installation process for a cement conveyor belt can vary depending on the specific equipment being used and the site conditions. However, here are some general steps that can be followed:
Prepare the site: Before installing the conveyor belt, ensure that the site is properly prepared. This may include leveling the ground, clearing any obstacles, and creating a solid foundation for the conveyor system.
Assemble the conveyor frame: Begin by assembling the conveyor frame according to the manufacturer's instructions. This may involve connecting sections of the frame and attaching supports and brackets.
Install the rollers: Once the frame is assembled, install the rollers that will support the conveyor belt. These should be evenly spaced and securely attached to the frame.
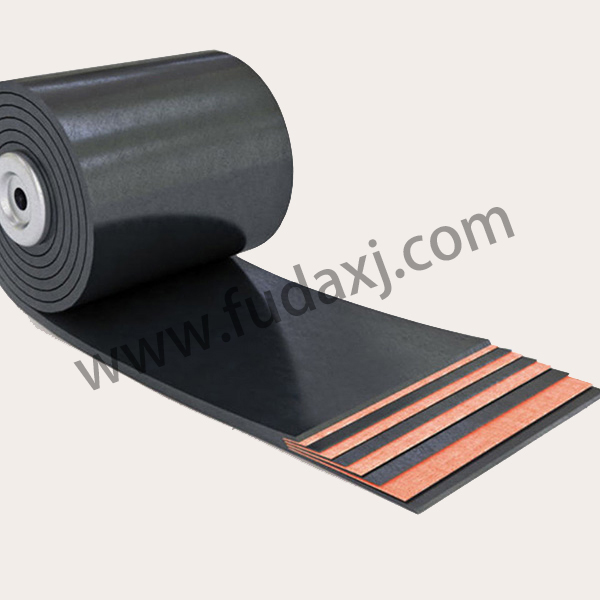
Attach the belt: Unroll the conveyor belt over the rollers and ensure that it is centered and straight. Secure the belt to the rollers using fasteners or clips.

Adjust tension and tracking: Adjust the tension and tracking of the conveyor belt according to the manufacturer's instructions. This will ensure that the belt runs smoothly and does not slip off the rollers.
Connect the motor: Connect the motor to the conveyor system, ensuring that it is properly aligned and securely fastened.
Test the system: Once the conveyor system is fully installed, test it to ensure that it is operating correctly. This may involve running the conveyor with no load to check for any issues with alignment, tension, or tracking.
It is important to follow all safety guidelines when installing a conveyor system, including wearing appropriate personal protective equipment and ensuring that all components are properly secured and stable. Additionally, it may be helpful to consult with a qualified professional or the manufacturer of the conveyor system for specific installation instructions and recommendations.
 English
 简体中文
简体中文 Español
 عرب
عرب
 English

 Fax: 0086-576-83019528